 at left part of the screen. Next press the button Add
  add the left part of the screen. An empty group will be created.
Positioning single stamps with the Layout Wizard
We have seen how we can position a group automatically with the Layout Wizard. We will now position single stamps with the Layout Wizard.
A single stamp will be treated by the Layout Wizard as a group of only one stamp.
Taking a look in the catalogue of Victoria we see that we have to draw the following single stamps:
|
Year |
Stamp size |
Number |
Nominal value and color |
|
1852 |
21 x 30mm |
1 |
2 p. Lilac brown |
|
1853-‘54 |
21 x 30mm |
1 |
2 p. Reddish lilac |
|
1854-‘59 |
23 x 23mm |
1 |
1 Sh. Blue |
It is possible to start the Layout Wizard for every single stamp. However, a faster way is to enter all three stamps at once in the Layout Wizard. This can be done as follows:
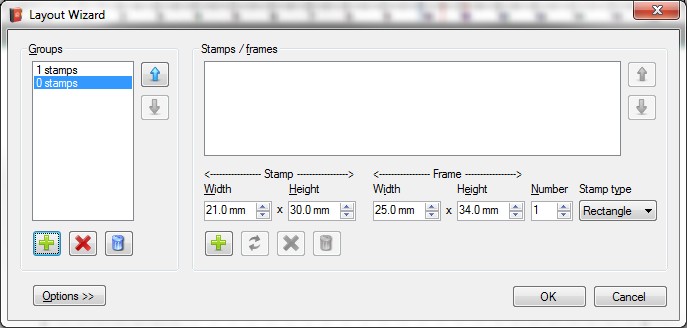
Start the Layout Wizard. You will see that the data that was previously entered is still visible. Delete this with the button Delete at left part of the screen. Next press the button Add add the left part of the screen. An empty group will be created.
We are now ready for the next set of stamps. Enter the data for the first stamp and press the button Add  in the right part of the screen to add it to the first group:
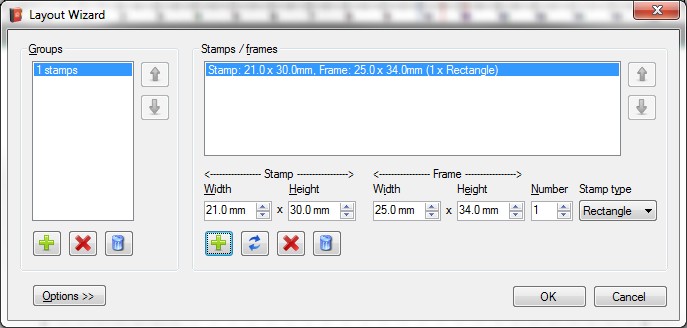
The Layout Wizard now indicates that one group existing of only one stamp will be drawn.
Now press the Add button in the left part in the screen to create a new group:
Enter the data for the second stamp and press the Add button in the right part of the screen to add the stamp to the second group:
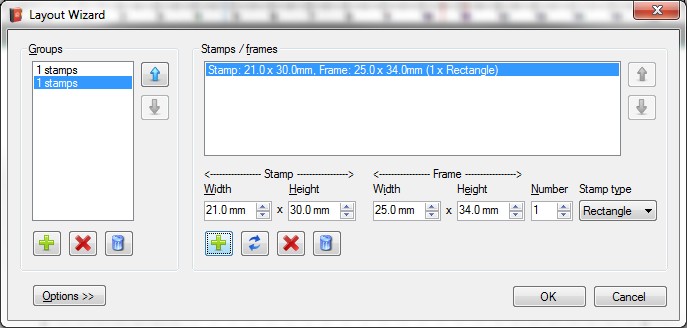
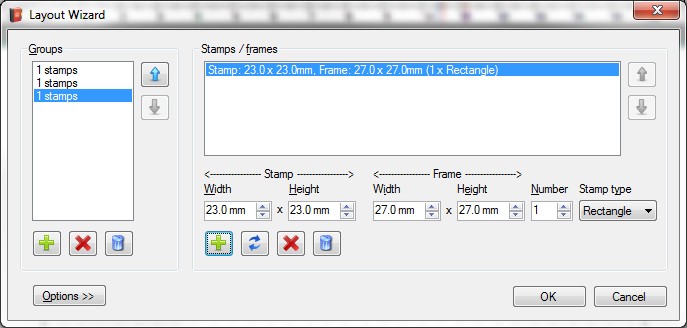
The left part of the screen now shows that two groups consisting of one stamp each will be drawn. Add another group with the Add button in the left part of the screen and enter the data for the third stamp:
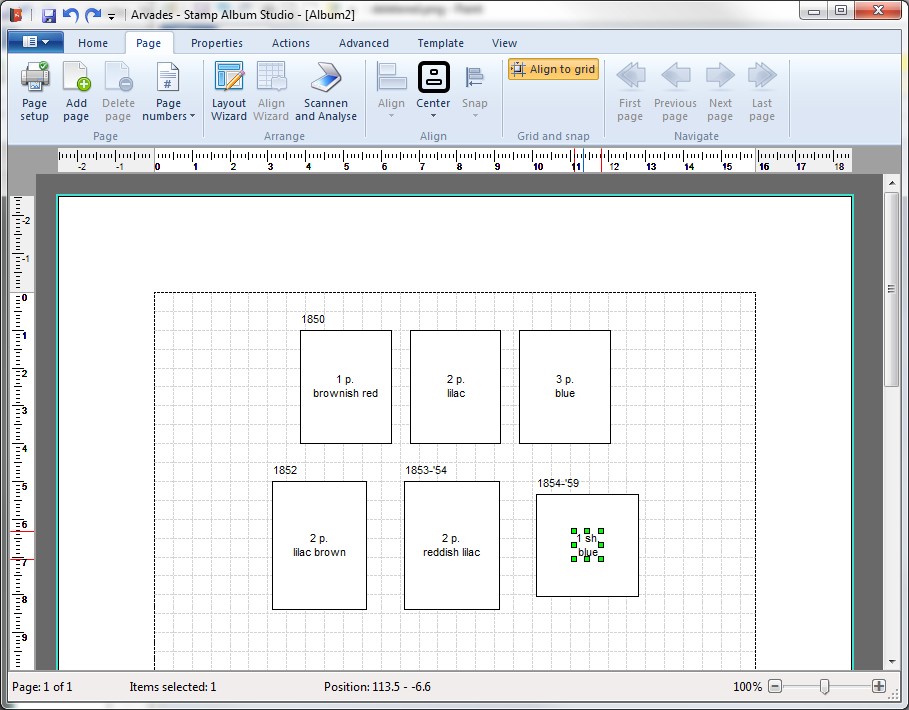
Press the OK button to draw the stamps. The page looks like this:
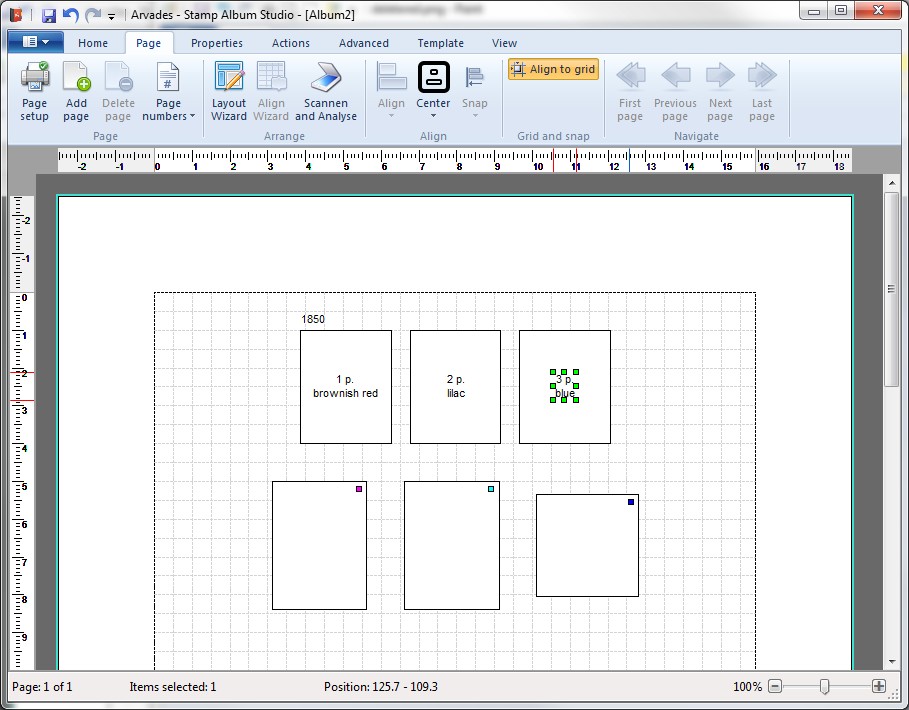
The Layout Wizard has now determined the position of the three single stamps. One of the goals is to minimize the loss of white space.
The Layout Wizard uses different distances between stamps of one group and between stamps of different groups. In this example we see that the distances between the stamps of the group of 3 stamps is 5 mm, while the distance between the single stamps is 10 mm. These distances can be adjusted in the screen "Settings" that can be reached through the Main Menu option Settings.
We can now add labels by clicking the right mouse button on one of the stamps and choose the option Labels and then Top. With TAB key you can navigate between the labels:
Note:
In the online Help all options and possibities of the Layout Wizard will be described in detail.
Copyright © 2015, Arvades